


- Open a blank document in Microsoft Word.
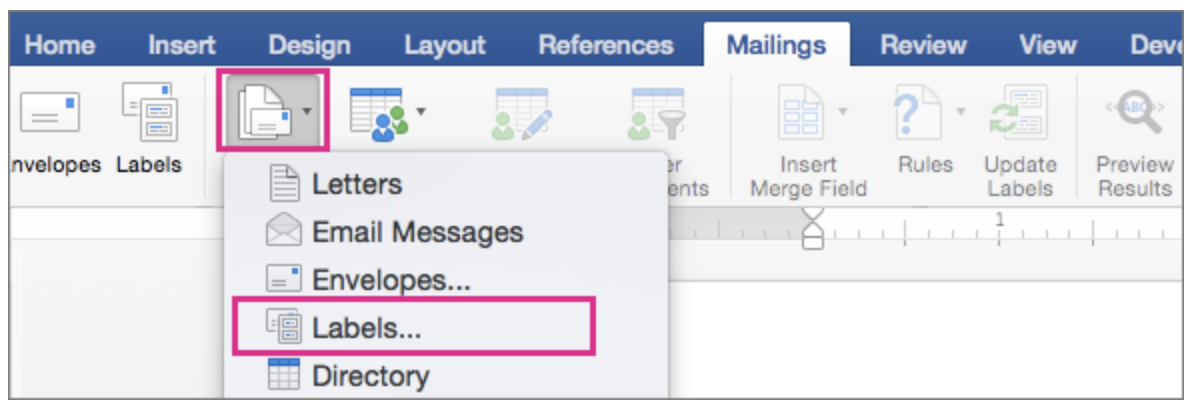
- Go to Mailings > Start Mail Merge > Labels.
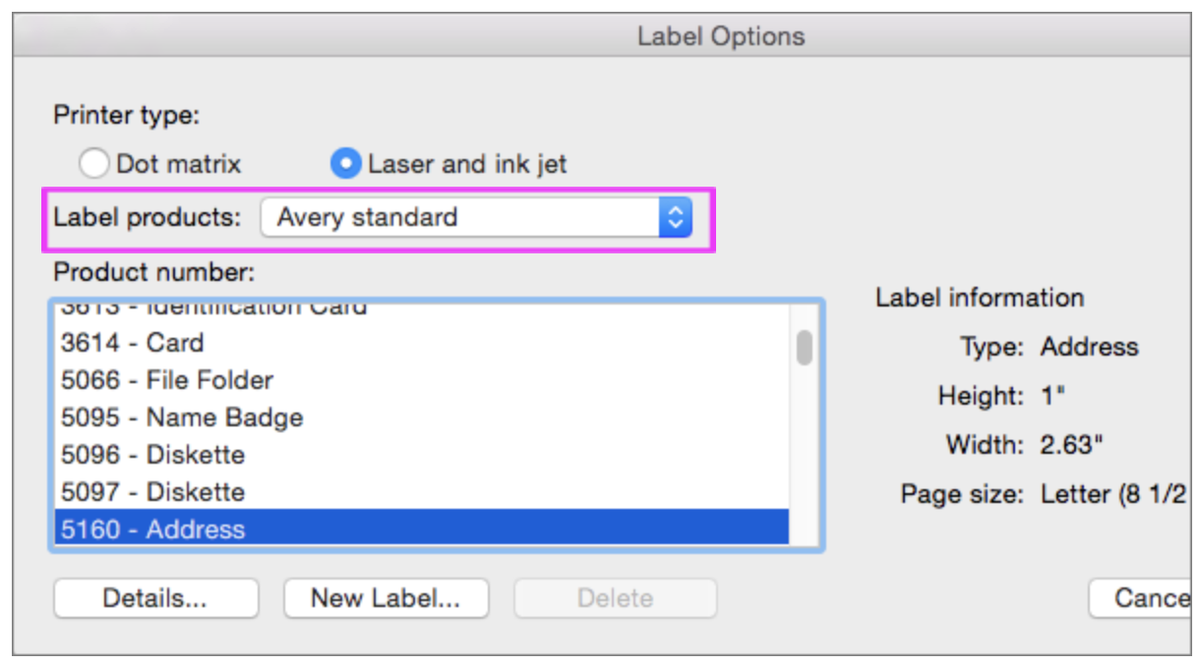
- In the Label Options dialog box, choose your label supplier in the Label products list.
- In the Product number list, choose the product number on your package of labels. Tip: If none of the options match your labels, choose New Label, enter your label's information, and give it a name. Choose OK to add the new label to the Product number list.
- Select OK. Your document now displays a table with an outline of the labels. If you don't see the outline, go to Table Layout and select View Gridlines.
- Go to File > Save to save your document.
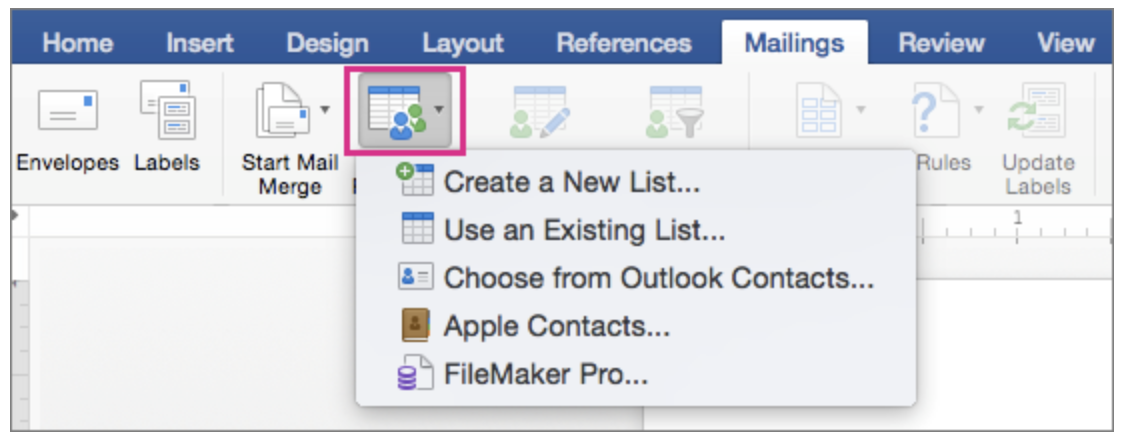
- Go to Mailings > Select Recipients, and then choose an option. If using an exported list from ActiveCampaign, choose “Use an Existing List.” For more info, see Data sources you can use for a mail merge.
- Select OK. If a window titled “File Conversion” pops up, just click OK.
- Go to Mailings > Insert Merge Field and select the fields to show on your labels.
- Select OK.
- Format the fields in the first label so it looks the way you want the rest of your labels to look.
- Go to Mailings > Update Labels.
- Go to Mailings > Preview Results. Choose Preview Results again to view, add or remove merge fields. Select Update labels when done if you make changes.
- When the labels look the way you want, go to Mailings > Finish & Merge > Print Documents. Tip: To review and update each label individually before printing, go to Mailings > Finish & Merge > Edit Individual Documents. When you're done, go to File > Print to print the labels.
How to Create Labels With a Mail Merge in Word 2019
We also have a few other email lists you can subscribe to.
Written By