When it comes to creating digital content for your website, email campaigns, or factsheets, one crucial aspect to consider is your page's structure. Headings break content up into smaller sections, which are easier to navigate and scan for information.
Understanding HTML Heading Tags
Visually distinguishing heading text from regular paragraph text is a common practice, often achieved through font modifications such as making the text larger, bold, or underlined. However, it's equally important to designate text as a heading using HTML tags, regardless of font style. Assigning appropriate heading levels to your text helps organize your content and provides valuable information to web browsers and assistive technology.
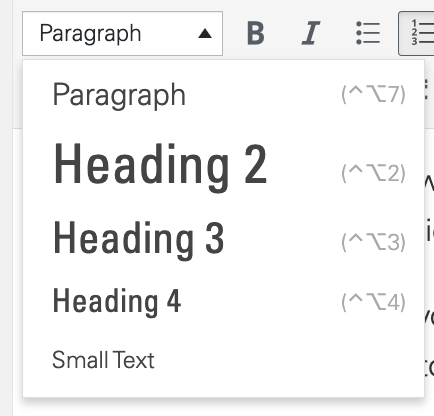
How to Assign Heading Levels
- Highlight the Text: First, click and drag your cursor to select the section of text that you want to designate as a heading.
- Select the Heading Level: Next, choose the appropriate heading level from the dropdown menu. HTML offers six heading levels, with H1 being the most significant (typically reserved for the page's title), followed by H2, H3, etc.
Helpful Tips
Here are some tips to keep in mind when using HTML headings in your content:
- Multiple Instances: You can use more than one instance of the same heading level (e.g., multiple H2 or H3) if they represent headings for sections at equivalent levels within your page structure.
- Consistency Matters: Avoid skipping heading levels. If you have a Heading 2 and Heading 4, be sure to include a Heading 3 somewhere in between to maintain a logical hierarchy.
- Semantic Use: Do not misuse heading assignments solely for changing the visual appearance or text size. Instead, utilize bold, italic, or other font options and reserve HTML headings for structuring your content.